As many of you know I love taking pictures. It’s a passion that came to me the moment I had my first child. Now that I have another child, you could call me Mamarazzi. My children give me the inspiration and the desire to take a picture of all their beloved moments. It’s such a wonderful feeling when I capture their precious faces on camera and to see their smiling faces looking back at me. My heart melts when I take a look at the processed pictures.
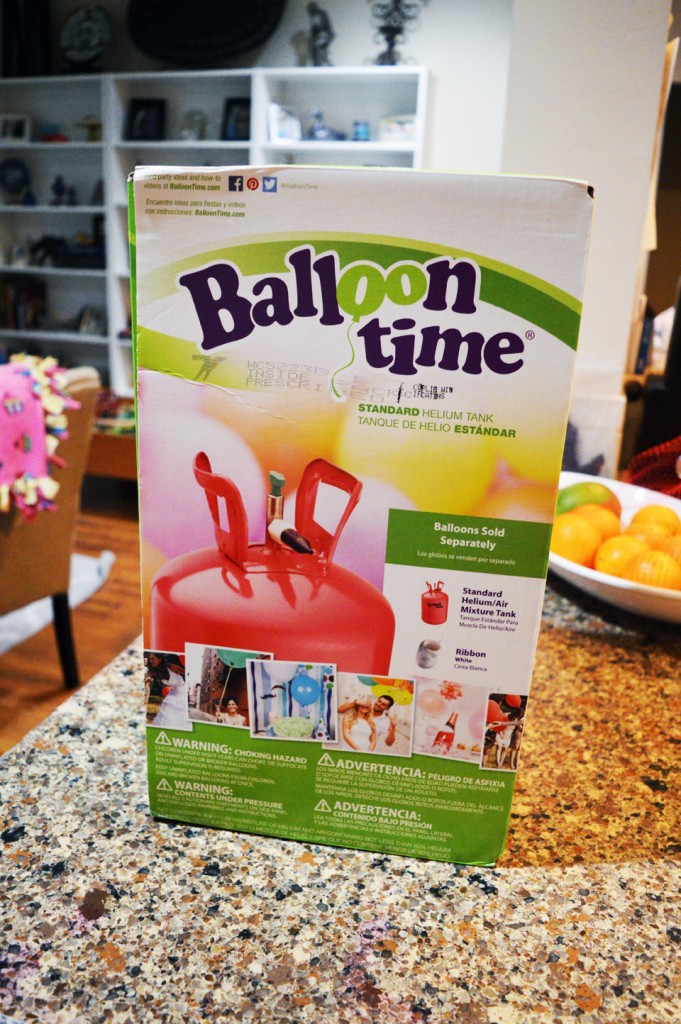 Pictures are great to take, but the location, the props makes the images look even better. You can easily take a picture in your garage, but with the right backdrop, it makes a big difference on how the picture will turn out. That’s why I decided to make a DIY photography balloon backdrop with the help of Balloon Time Helium Tank. Let me go ahead and show you what I came up with.
DIY photography balloon backdrop Supplies that I used:
- Port-A Stand Kit ( two black folding upright stands that can rise to a height ). Or a you can use a soccer goal.
- Balloons (3 packages (blue, red and yellow)of 75 balloons
- Standard Balloon Time Helium Tank (which contained 30 balloons)
- Thread
- Needle
- ribbon
So, before we started I told my husband to put up the Port-A-Stand Kit up in the living room. We first unpacked the Balloon Time Helium Tank and started with the balloons that came with the tank. With the help of my husband we started to inflate the balloons one at a time. I threaded my needle with some thread and started to push the needle through the knotted loop at the end of the balloons. We did all 30 balloons with the balloon helium tank and the rest we did by mouth. Yes, that was a lot of work, but it was fun and worth it. My son loves the Avengers so we decided to go with those colors.
The standard Balloon Time Tank is lightweight, portable tank with 8.9 ft3 of helium/air mixture is perfect for mixing and matching balloons to customize your celebration. The easy-to-use tank inflates up to 30, 9″ latex balloons; 16, 11″ latex balloons; or 16, 18″ foil/Mylar balloons.
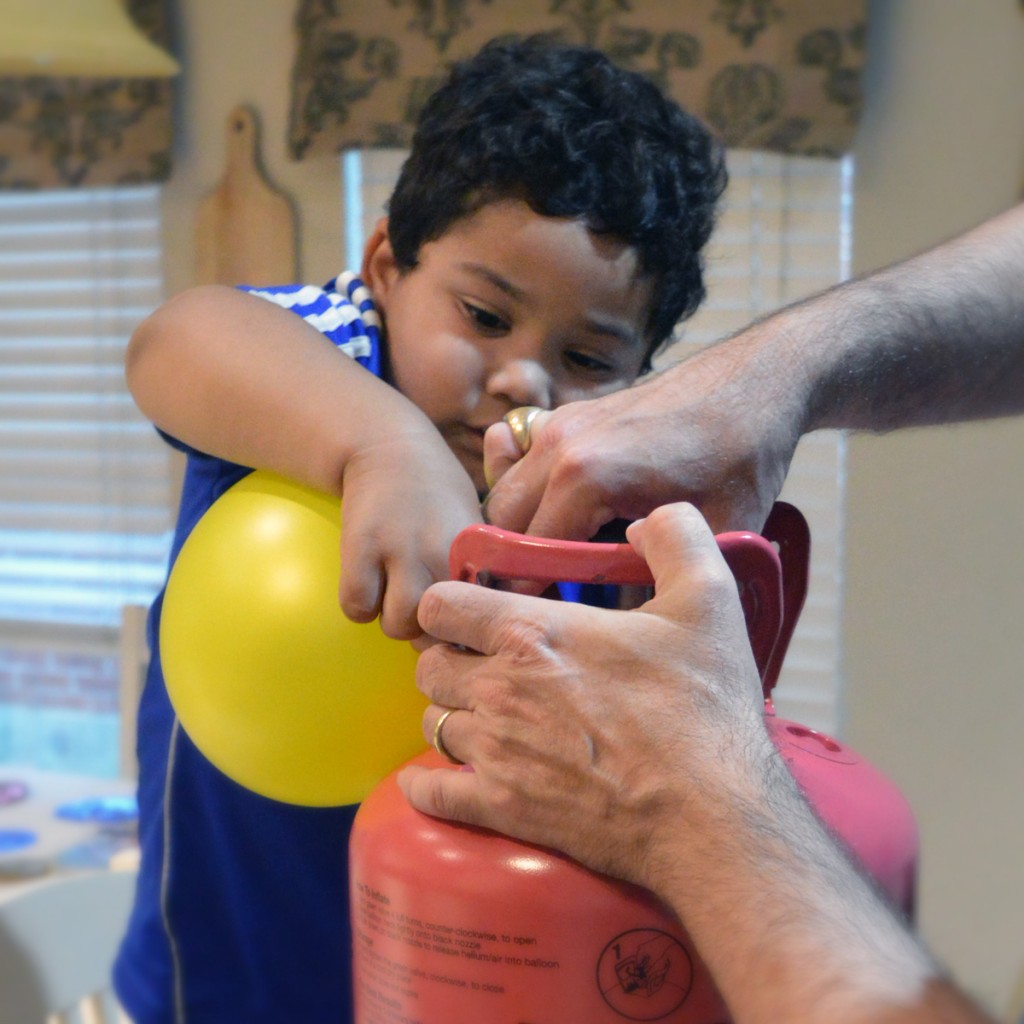 The 30 balloons that were filled with the Balloon Time Helium Tank were placed on the top of the stand and tied with the thread. We kept on tying all the balloons securely until it was all done. It took us about 45 minutes to do all of it and we had over 200 balloons. Can you imagine that! This kids had so much fun and I had a great time as well. I thought it turned out really well.
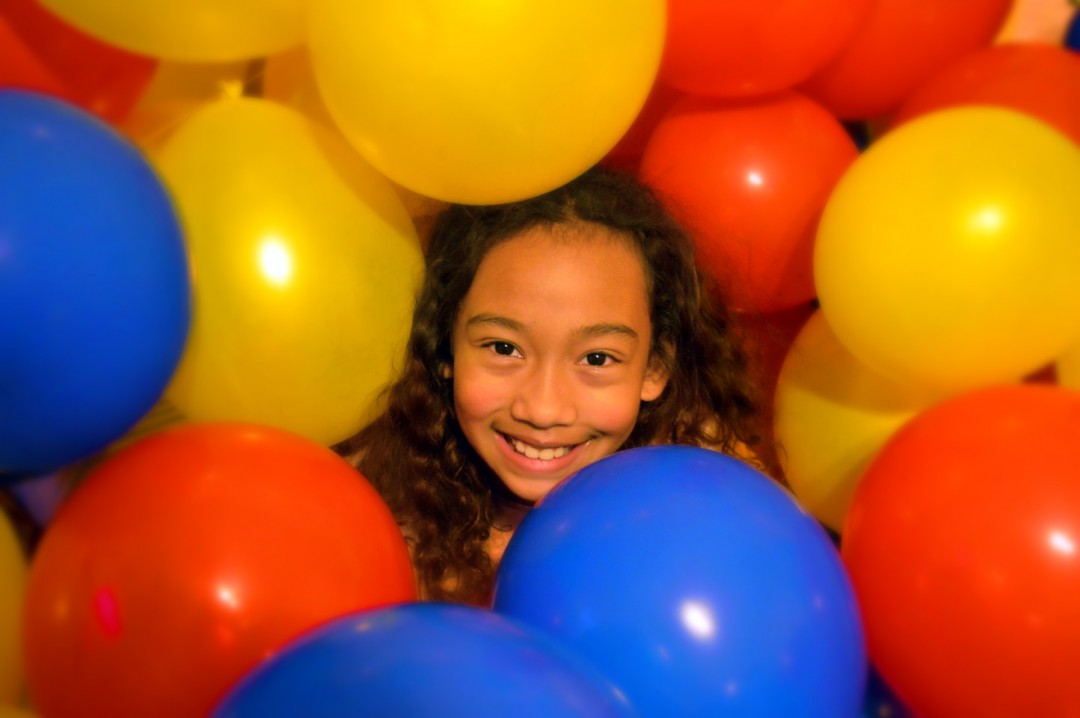
Now, it was time to test out my DIY Photography Balloon Backdrop. I took a few inside the house and also outside. It was a little windy when we took the pictures, but it turned out great.
 My daughter and son wanted to take a few pictures with some of the Balloons in their hands and since it was windy, I thought why not! It looked so much fun and I decided to join the fun as well. My little photographer, Sophia took a few snaps of me holding the balloons and she had the most memorable smile on her face when she saw me in action.
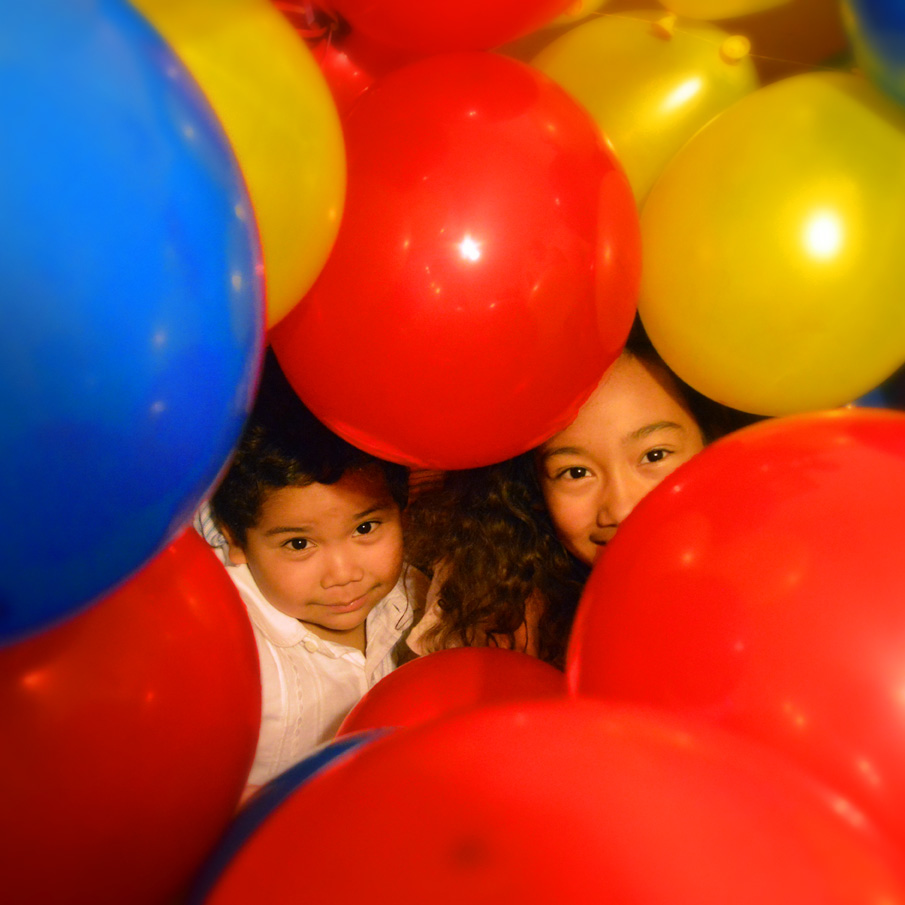 I will definitely be using this background again. If your looking for more party ideas go and visit Balloon Time for more DIY party ideas. I know you all will love them. You can also connect with them via their social media sites facebook, twitter, instagram , google+, pinterest and youtube.
Sincerely,
My opinions are my honest, and thoughtful views and were not influenced by any source. I was not compensated monetarily for this review and giveaway. Thank you to sponsor/PR Agency for providing a complimentary sample for the review.


Great DIY backdrop. The colors of the balloons sure came out beautiful! You have a lovely family.
My son will be turning 5 next month and this will be a great DIY project. My family calls me Mamarazzi as well. I enjoy taking pictures of my family. Love how your pictures turned out.
I am hosting baby shower and I browsed Balloon Time DIY projects. They are so cute. I love your project as well and those are definitely a lot of balloons. I’ll bet the kids had fun with the balloons.
We actually got a Balloon Time Helium Tank yesterday . Not sure what to do yet, since my wife is planning my daughter’s birthday party. I will definitely show her your project and also their DIY projects. She will be amazed! Great pictures.