

I am in the process of organizing our home focusing on one room at a time. So, this time I was organizing Sophia’s craft area and while doing that I noticed that she had quite a bit of crayons. Now you can imagine what is going through my head. So after googling and searching the internet, I came up with several wonderful DIY Craft Projects.
The materials that you will need for the first craft project:
- Crayons
- Hot Glue (adult supervision required)
- Picture Frame
- Letter Print out (I used ” S”)
- Hard stock paper
- Knife (adult supervision required)
- Cutting board
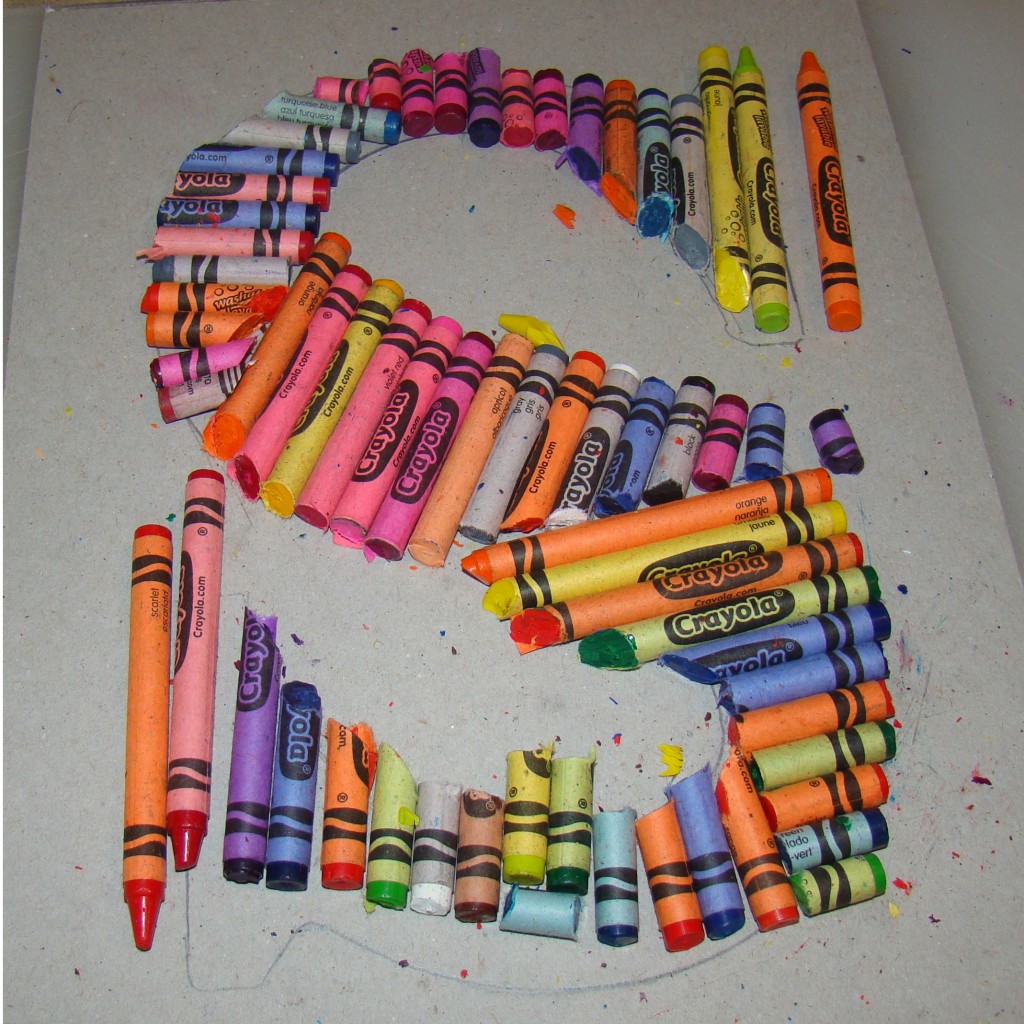
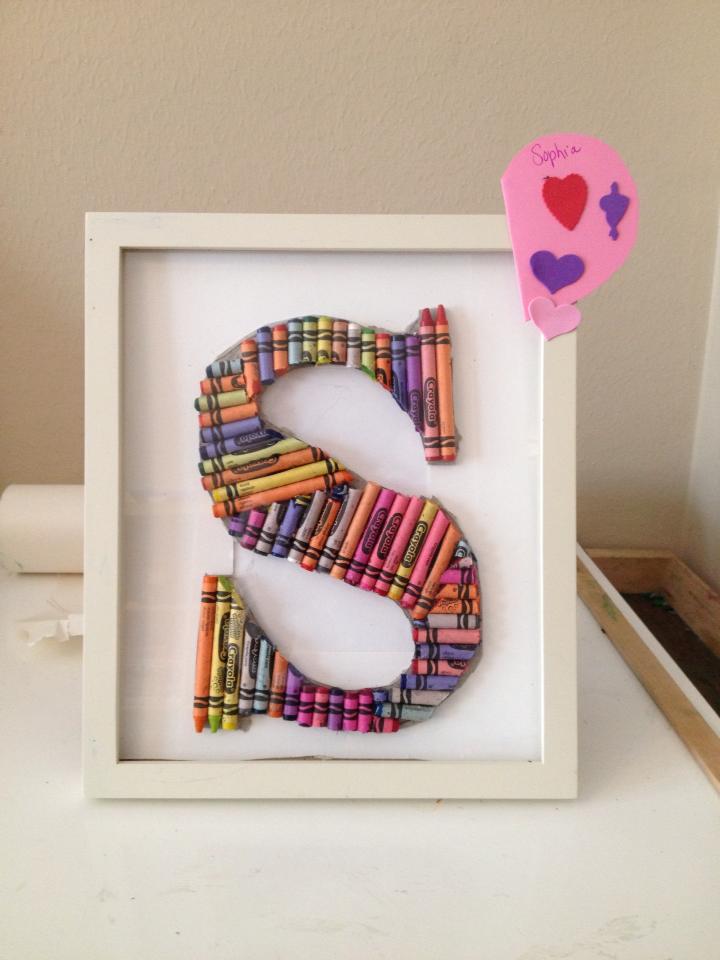
First, I traced the S Letter on some hard stock paper. Then, I literally glued the crayons on to the traced letter to form the letter S. In the curved area of the S, I placed some of the crayons on a cutting board and cut them on there and then I glued them to form the shape of the S. Once it was finished, I cut some of the crayons some more and then I placed it in the frame. Note: My frame is deep so I used the glass on the frame, but you don’t necessary have to use the glass. If you like you can always take the glass off, so the crayons won’t rub on to the glass. VOILA! and your done and you will have a pretty decorative piece of craft.
Remember we had quite a bit of crayons so now we are making our second craft project. Materials for that are:
- Crayons
- Hot Glue (adult supervision required)
- Canvas (11×14)
- Blow Dryer
- Newspaper
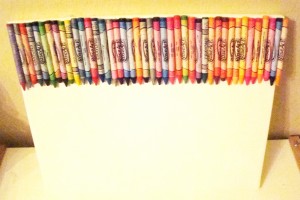
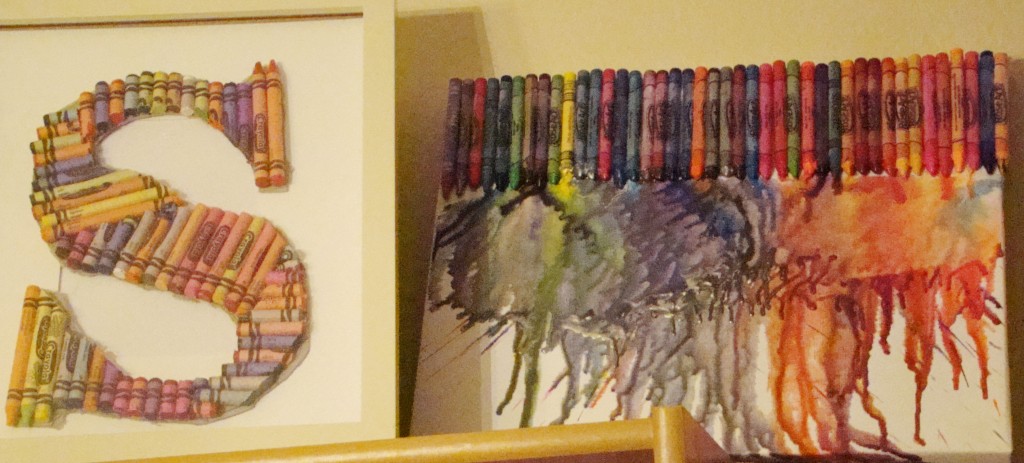
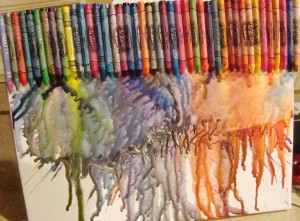
Basically, you will glue all your crayons to the canvas where the points of the crayons are facing down. Use the hot glue to glue them securely on to the canvas. Be careful not to burn yourself, so that is why it is important for an adult to do this part. I personally recommend for you to take your project on your patio or in the garage, because it tends to sprinkle and gets a little messy. Next, get your blow dryer and put it on the hot setting and face it downwards on top of the crayons. Hold your canvas sideways so your crayons will melt and drip nicely. It will mix all the colors together and create a beautiful art piece. After you are finished, set aside to dry and before you know it, you can hang it on the wall of your little ones room.
I hope you enjoy these wonderful craft projects and since spring break is here you can use these tutorials with your kids while they are home. This way you can keep them busy!
![]()

3 Comments
Wow, this is a really neat idea!! I may have to make some for my girls playroom, we have millins of crayons, and since they are little, they are all mostly broken so that would work perfect for the first project! Thanks a million for this awesome idea!!!
Jenni
That is adorable! My kids would love something like this!
im sooo loving the letter made from crayons! unique idea!