My daughter decided it was time to change her bedding set, and I thought why not do a DIY project again and let her decide what she wanted. First of all, she loves pink, so I had an idea on what to work with. We went to a fabric store and buy some fabric she wanted. Now that we had everything we were ready to start our easy Pillow Sham Tutorial.
Material Supplies:
- Ribbon (1/8)
- Fabric (cotton duck-2 yards or less, but I always like to buy more just incase)
- Thread (white or matching to fabric)
- Scissors
- Standard Pillows ( I know you have that in your house already)
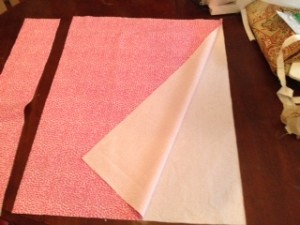
Let’s cut out the following pieces that you will need for your Easy Pillow Shams:
- You will need to cut out Two rectangles – 29 inches x 22 inches
- You will need to cut out Four rectangles – 22 inches x 20 inches
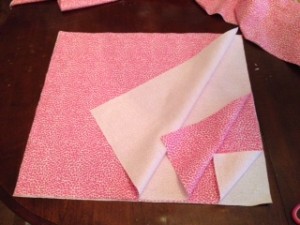
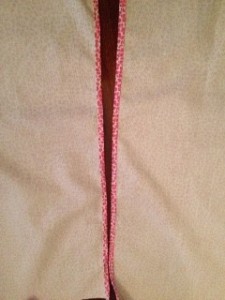
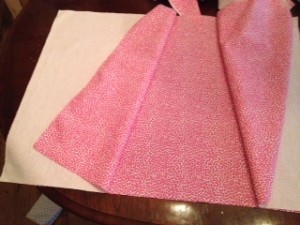
Go ahead and pin all around the edges and sew around the complete case. When you are done, turn the case inside out. At this point you can iron your sham.
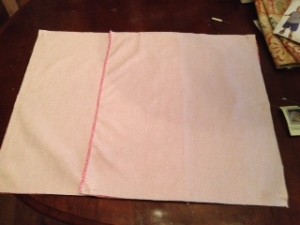
Then, turn the entire case right side out. Poke the corners out with the tips of scissors or a knitting needle. Iron the seam all the way around. Now you will sew all around the case again, but now on the right side. You will measure 1 inch around the sham to give you a beautiful sham border. Pin it and sew all around.
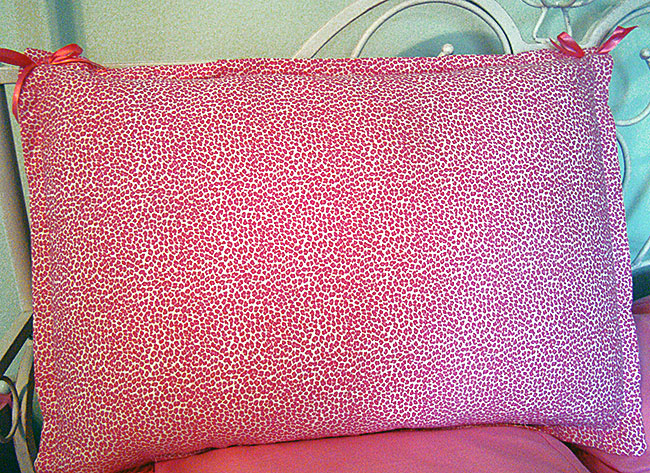
To give it it that little extra little decor, I added some cute little ribbons on top of the sham (both right and left side of the sham). I also added on to the back of the sham 4 pieces of 6 inch ribbon (where the opening of is to insert the pillow). Tie two nice bows in the back of the sham and it will keep the pillow nice and tidy in the sham.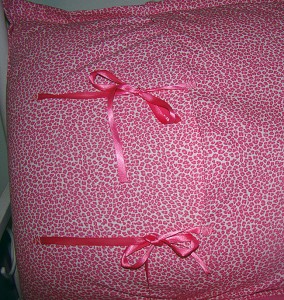
There you have it. Now you can make your own adorable shams.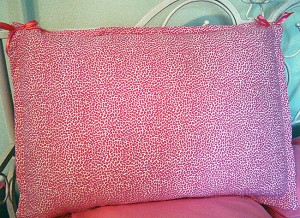
Happy sewing.



13 Comments
love this! I’m all about DIY projects and this one looks so easy 🙂 super cute and will definitely be something I keep in mind when it comes time to change our daughter’s set here soon.
Super cute!
theses are super cute and quite EZ to do.
That is really cute. I have been eyeing some sewing machines lately and your tutorials make it so tempting to buy….
I wish you were here and could teach me how to sew. I had one bad experience with trying to learn how to sew with my sewing machine and now I’m so scared to try again. Your pillow is very pretty. Matches the color of your blog background.
Very cute, and you make it look so easy!
Pink bows…you are so after my pillow heart :0)
Such a pretty pillowcase. You did a great job!
Very nice. Love the ribbon touch. I like to sew but have not sew anything in ages. Great job! Thanks for sharing.
What a difference! Very cute pillow! The ribbon is adorable!
[…] loved it and she said it was “Soft and Cozy”. Looks really nice with the matching shams […]
Very clever and I like te additon of a ribbon- very girly looking. I bet she loves it!
Wow – what rich imagination you have. I would never think that making pillows could be that easy. Thank you very much indeed for sharing your secrets and inspiring me)