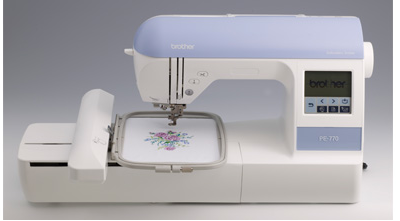
I am so excited to let you all know about the Brother PE770 Embroidery Machine with USB Memory-Stick Compatibility. Last year I did a review on the Brother Project Runway Innov-ís 40 Sewing Machine which is a joy to operate. Take a peek if you haven’t seen my review. If you have read some of my previous post, you would know that I love to sew and enjoy it quite a bit. Besides being a teacher, my mom taught my sisters and I how to sew small items when we were little. So you can say I learned all of my sewing from my sweet mother.
Now, let me tell you about the Brother PE770 Embroidery Machine with USB Memory-Stick Compatibility. Let’s start off what this machine can do and its features:
It is the latest computerized embroidery machine that is compatible with USB Memory Sticks! Import designs up to a maximum of 5” x 7”. Utilize the Brother Memory Card Library for even more designs. Now you can embellish everything from home décor to T-shirts with one of 136 built-in embroidery patterns which include delicate scrollwork, intricate florals, classic quilt patterns and so much more.
- 136 built-in embroidery designs and 6 built-in embroidery lettering fonts
- Easily import designs from your memory stick via the built-in USB port
- Built-in embroidery card slot enables use of 1000’s of optional Brother embroidery designs
- On-screen embroidery editing on monochrome LCD touch screen
- Maximum embroidery area of 5″ x 7″
- Built-in frame shapes and border styles to frame your embroidery
- Memory function to save designs for future use
- Available at Authorized Innov-ís Dealers Only
Now that you know about all of the above features I will tell you about my experience with the Brother PE770 Embroidery Machine. Brother International was kind enough to give me the opportunity to do a review on their Brother PE770 Embroidery Machine, and you I graciously accepted the offer. I have heard a lot of wonderful things about this machine, so you can imagine how I felt when I received it at my door step. In my head I was already planning what kind of fun, adorable, and elegant creations I would be making.
I carefully opened the box which contained the following items: Seam ripper, bobbins,needle set, cleaning brush, screw drivers, spool caps, spool net, scissors, accessory bag, manual, reference guide, and 1 (5″ x 7″) hoop. All of the manuals and instructions, came in both English and Spanish. With the help of my husband, we put the Embroidery Machine together, and I must say it was quite easy to install. To get familiar with the Embroidery Machine I started to read the the manual from the beginning to the end. I was quite fascinated with what you can do with this machine and I was ready to practice on it.
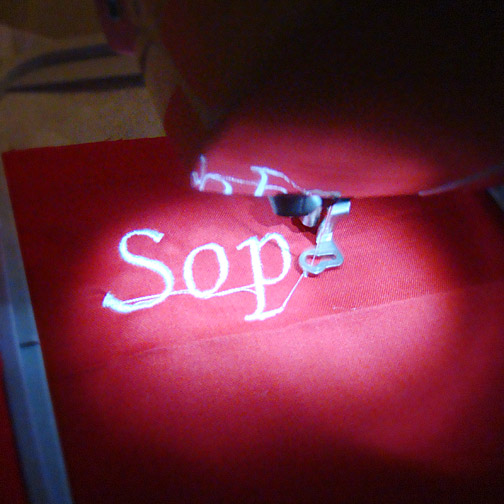 Since it is Christmas time, I decided to start off making some adorable personalized Christmas stockings for my family. I bought some adorable Christmas fabrics and found a stocking pattern and was ready to start.
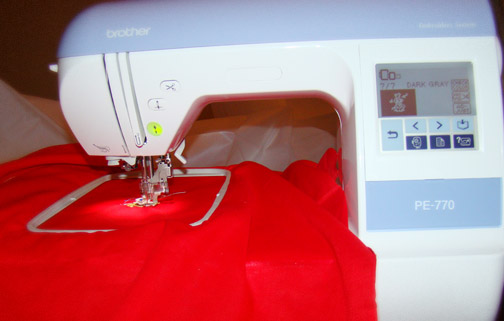
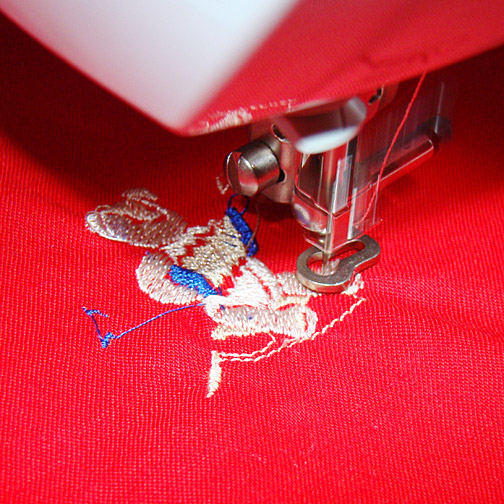
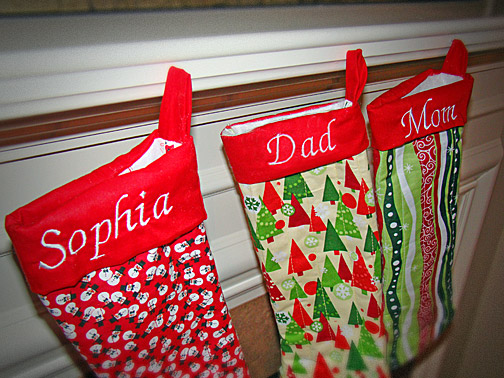 All the stockings were ready to be personalized and that is when I turned on my Brother PE-770 Embroidery Machine. I reached for the 5″ x 7″ hoop and unscrewed it (inner hoop and outer hoop). On top of the outer hoop I placed my stabilizer, fabric and then the inner hoop to fit on top. Always try to cut your stabilizer a little larger than your hoop to make it fit perfectly without moving around.
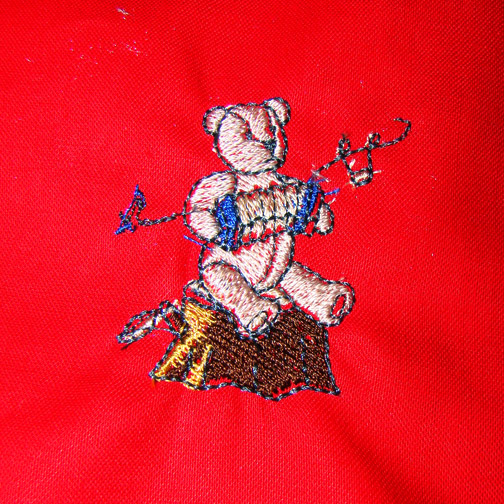
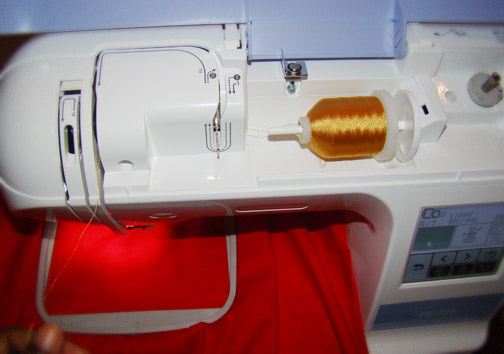 Threading the machine was quite easy and I had bought 40 lovely colorful embroidery threads to start off with and bobbin thread as well. Believe me, I wanted to be prepared and ready to sew and embroider when I started this project. Next, I was ready to find the right design to personalize my stockings. I slightly touched the LCD screen and a screen full of wonderful patterns, characters, and much more appeared. I chose the alphabet characters and selected the name Sophia. You can resize the character/name, change the layout and so much more. The options are there for you to have fun with and make the perfect size for whatever you are making. I used a nice shiny white embroidery thread, which would definitely show off on the red. After programming Sophia’s name, all I had to do was press the start button and it started to personalized the stocking.
I made 3 stockings Dad, Mom and Sophia and they were so easy to make and the machine personalized it so quickly. The PE-770 did most of the work, it was truly a breeze to embroider.
I was quite satisfied with how the machine worked yet, I wanted to make a lot more items. So I decided to make an applique shirt for my little one. I purchased a ladybug applique which I downloaded, and then used my thumb drive so I could transfer the file from my computer to the Brother PE-770. Then I walked to the Embroidery machine, and turned it off. I plugged in the thumb drive and turned the machine back on. I chose my files and transferred them all to the machine. It was as simple as that. Now, I was ready to make my beautiful ladybug shirt.
Supplies
Sulky Sicky+ Stablizer,
blank shirt
coordinating applique fabric.
Fabric adhesive (if you like)
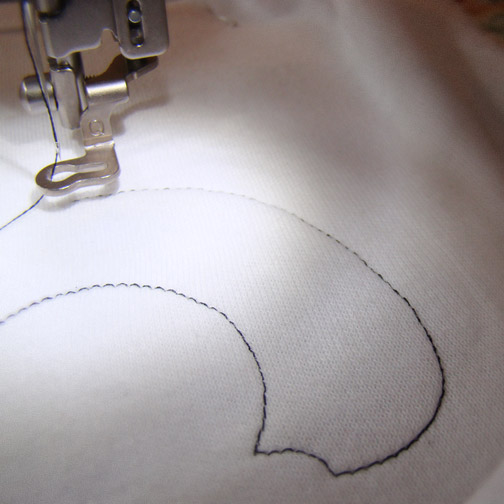
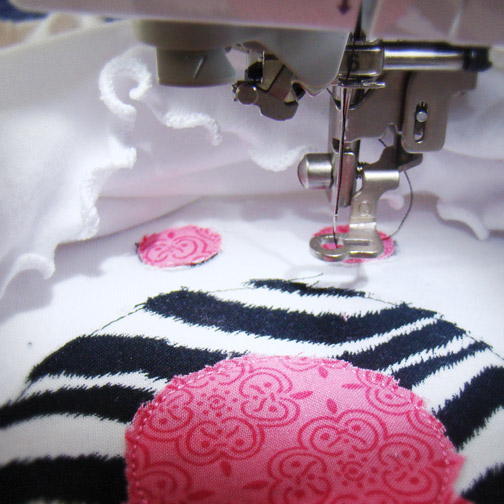
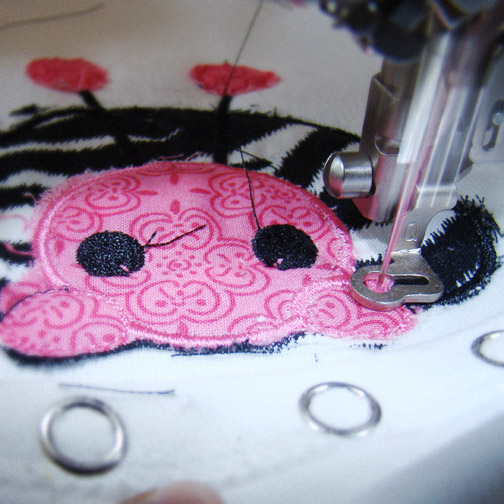
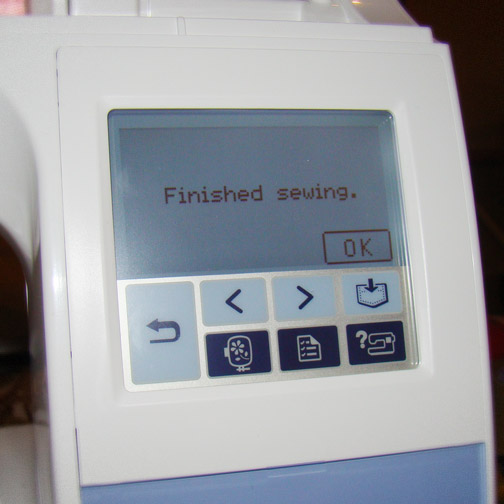
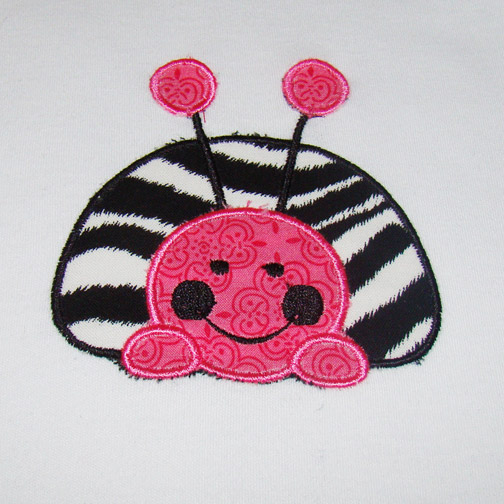 First select your applique pattern from the file on your machine. Once selected it will tell you exactly which steps to follow. It will even tell you what color embroidery thread to select. Amazing. First you hoop your stabilizer and shirt. This part was quite tricky for me because I had to make sure not to stitch the back of the shirt. I used pins and my hands to guide me though this process. My thread was in order, and the bobbin was ready as well. Now, it was time to start the project. The PE-770 will stitch the first step to show you where to place your applique fabric. You can spray adhesive on the back of the applique fabric and place it smoothly on top of the shirt. This will prevent the applique fabric from moving while the machine is stitching. After each step, I cut the pieces of thread and cut the outer section of the applique. This will make a nice finish while the last stitches are being added. Once the applique pattern is completed the machine will tell you that it is done. Great right. Take a peek at my ladybug shirt.
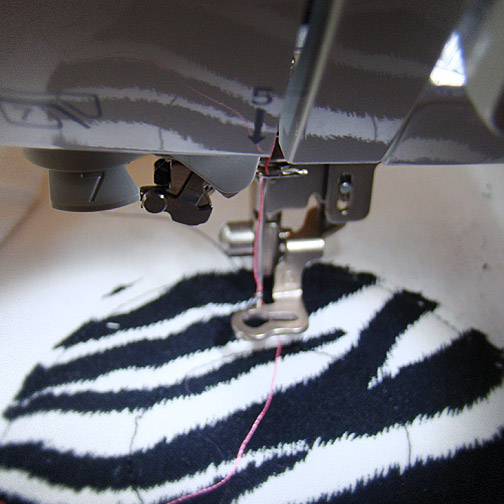
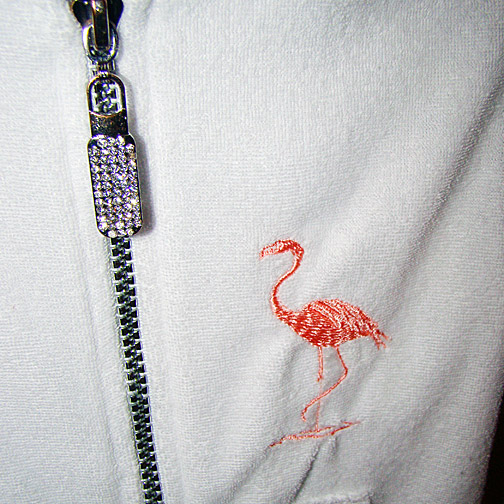
I was having so much and did a few other shirts with patterns that came with the machine such as the flamingo, and the strawberry pattern. My daughter wanted that on her shirts too. Doesn’t that look absolutely beautiful.
So what I am trying to let you know, is that I had so much fun with the Brother PE770 Embroidery Machine that I will continue making beautiful items. It was so easy and fun to work on. You can easily buy an inexpensive shirt, and with an applique design, initials or any other pattern you can make it an expensive item that is truly unique!
So what are you waiting for, visit Brother International to view some of their other home sewing machines and sergers, and enter the world of unbelievable designer sewing possibilities. You can also connect with Brother International via facebook and twitter.
Let me know some of your wonderful sewing/Embroidery experiences, and what you have created, or just share any comments that you want. I love to read them all.
Sincerely,
My opinions are my honest, and thoughtful views and were not influenced by any source. I was not compensated monetarily for this review. Thank you to Brother International/PR Agency for offering a complimentary sample for review.


21 Comments
Wow, that is super cool. I have yet to own a sewing machine, have only sewn a few things in my life. This looks like magic, lol.
Gorgeous creations. Wish I knew how to sew!
Cool sewing machine, I own one, but I could not tell you if it embroiders. Thanks for linking up to my Show Your Stuff blog hop.
You don’t really need to know how to sew. All you have to know is follow embroidery machine basic instructions and select your design and it all goes by it self. Amazing! I love it a lot.
I have a sewing machine, but I would LOVE to have this gadget
I want so badly to do a really great pillow ya know starting with the basics.You should do a tutorial sometime.Great site thanks for stoppin by my blog!
I will definitely do a tutorial. It would be great to see how it will turn out and i will let you know. Thanks for visiting.
Thanks for stopping by my blog. I am now following you as well 🙂
Wow, I love that. I have been wishing it in my Christmas List but looks like Santa can’t afford it as it is in the 500’s price range. oh well, i’ll probably save some money aside in my blogging for this. 😀 I love it so much now that you showed your creations. 🙂
Your projects are amazing! I sew, but no where in your league. Thanks for visiting me at A Season for All Things. I look forward to reading more of your posts. ~ Ellen
Thanks for following Mommy Time Out
Wow, that’s amazing! I would love to have one of these so I could make cute things for my daughter. Thanks for sharing!
LOVE LOVE LOVE the stockings!! I soooooo wish I knew how to sew, I would so get one of these!
that is just awesome looking! I am useless when it comes to sewing but I have always wanted to learn. My mom’s sewing machine is ancient and HUGE
Oh wow, that is amazing! I can’t believe how high-tech everything is now. This is sooo cool! I got rid of my ancient sewing machine because it was broken. I’d have a whole different experience with something like this!
Wow! I wish I could get this for my mother who loves to sew! What an amazing machine!
Beautiful! I love the ladybug. Do you remember where you got it? I think it would look darling on baby blanket.
I am so excited! I’m getting the Brother PE770 for Christmas and I can’t wait to make lots of different things. I wasn’t sure if the machine would do appliques but you answered my question. Thanks!!
Very nice embroidery..Looking so cute..I love all of the design very nice. cery nice post. thank you sharing this with us.
I have the pe770 but I am having trouble getting downloaded designs from my thumb drive to my machine.
Daily updated photo blog
http://sexypic.erolove.in/?entry.jaime
old church hymns of easter bollywood actress sex before after pictures watch adult free videos gail sex scenes